
<aside> <img src="notion://custom_emoji/43741957-c26f-4195-85a2-0c607c0adcf1/24ff0d27-c798-802c-a831-007a38775418" alt="notion://custom_emoji/43741957-c26f-4195-85a2-0c607c0adcf1/24ff0d27-c798-802c-a831-007a38775418" width="40px" />
Using Zapier templates with our VirtualPBX integration can be a seamless process. This guide will show you how to access our templates and edit them to make them work for your business’s needs.
</aside>
Table of Contents
If you don’t already have a Zapier account, you can create one for free at the Zapier Sign Up page.
Visit our Zapier Integration feature page to find our full list of Zapier templates and to learn more about the structure of Zapier apps.
Visit our Developer Site for documentation on API’s
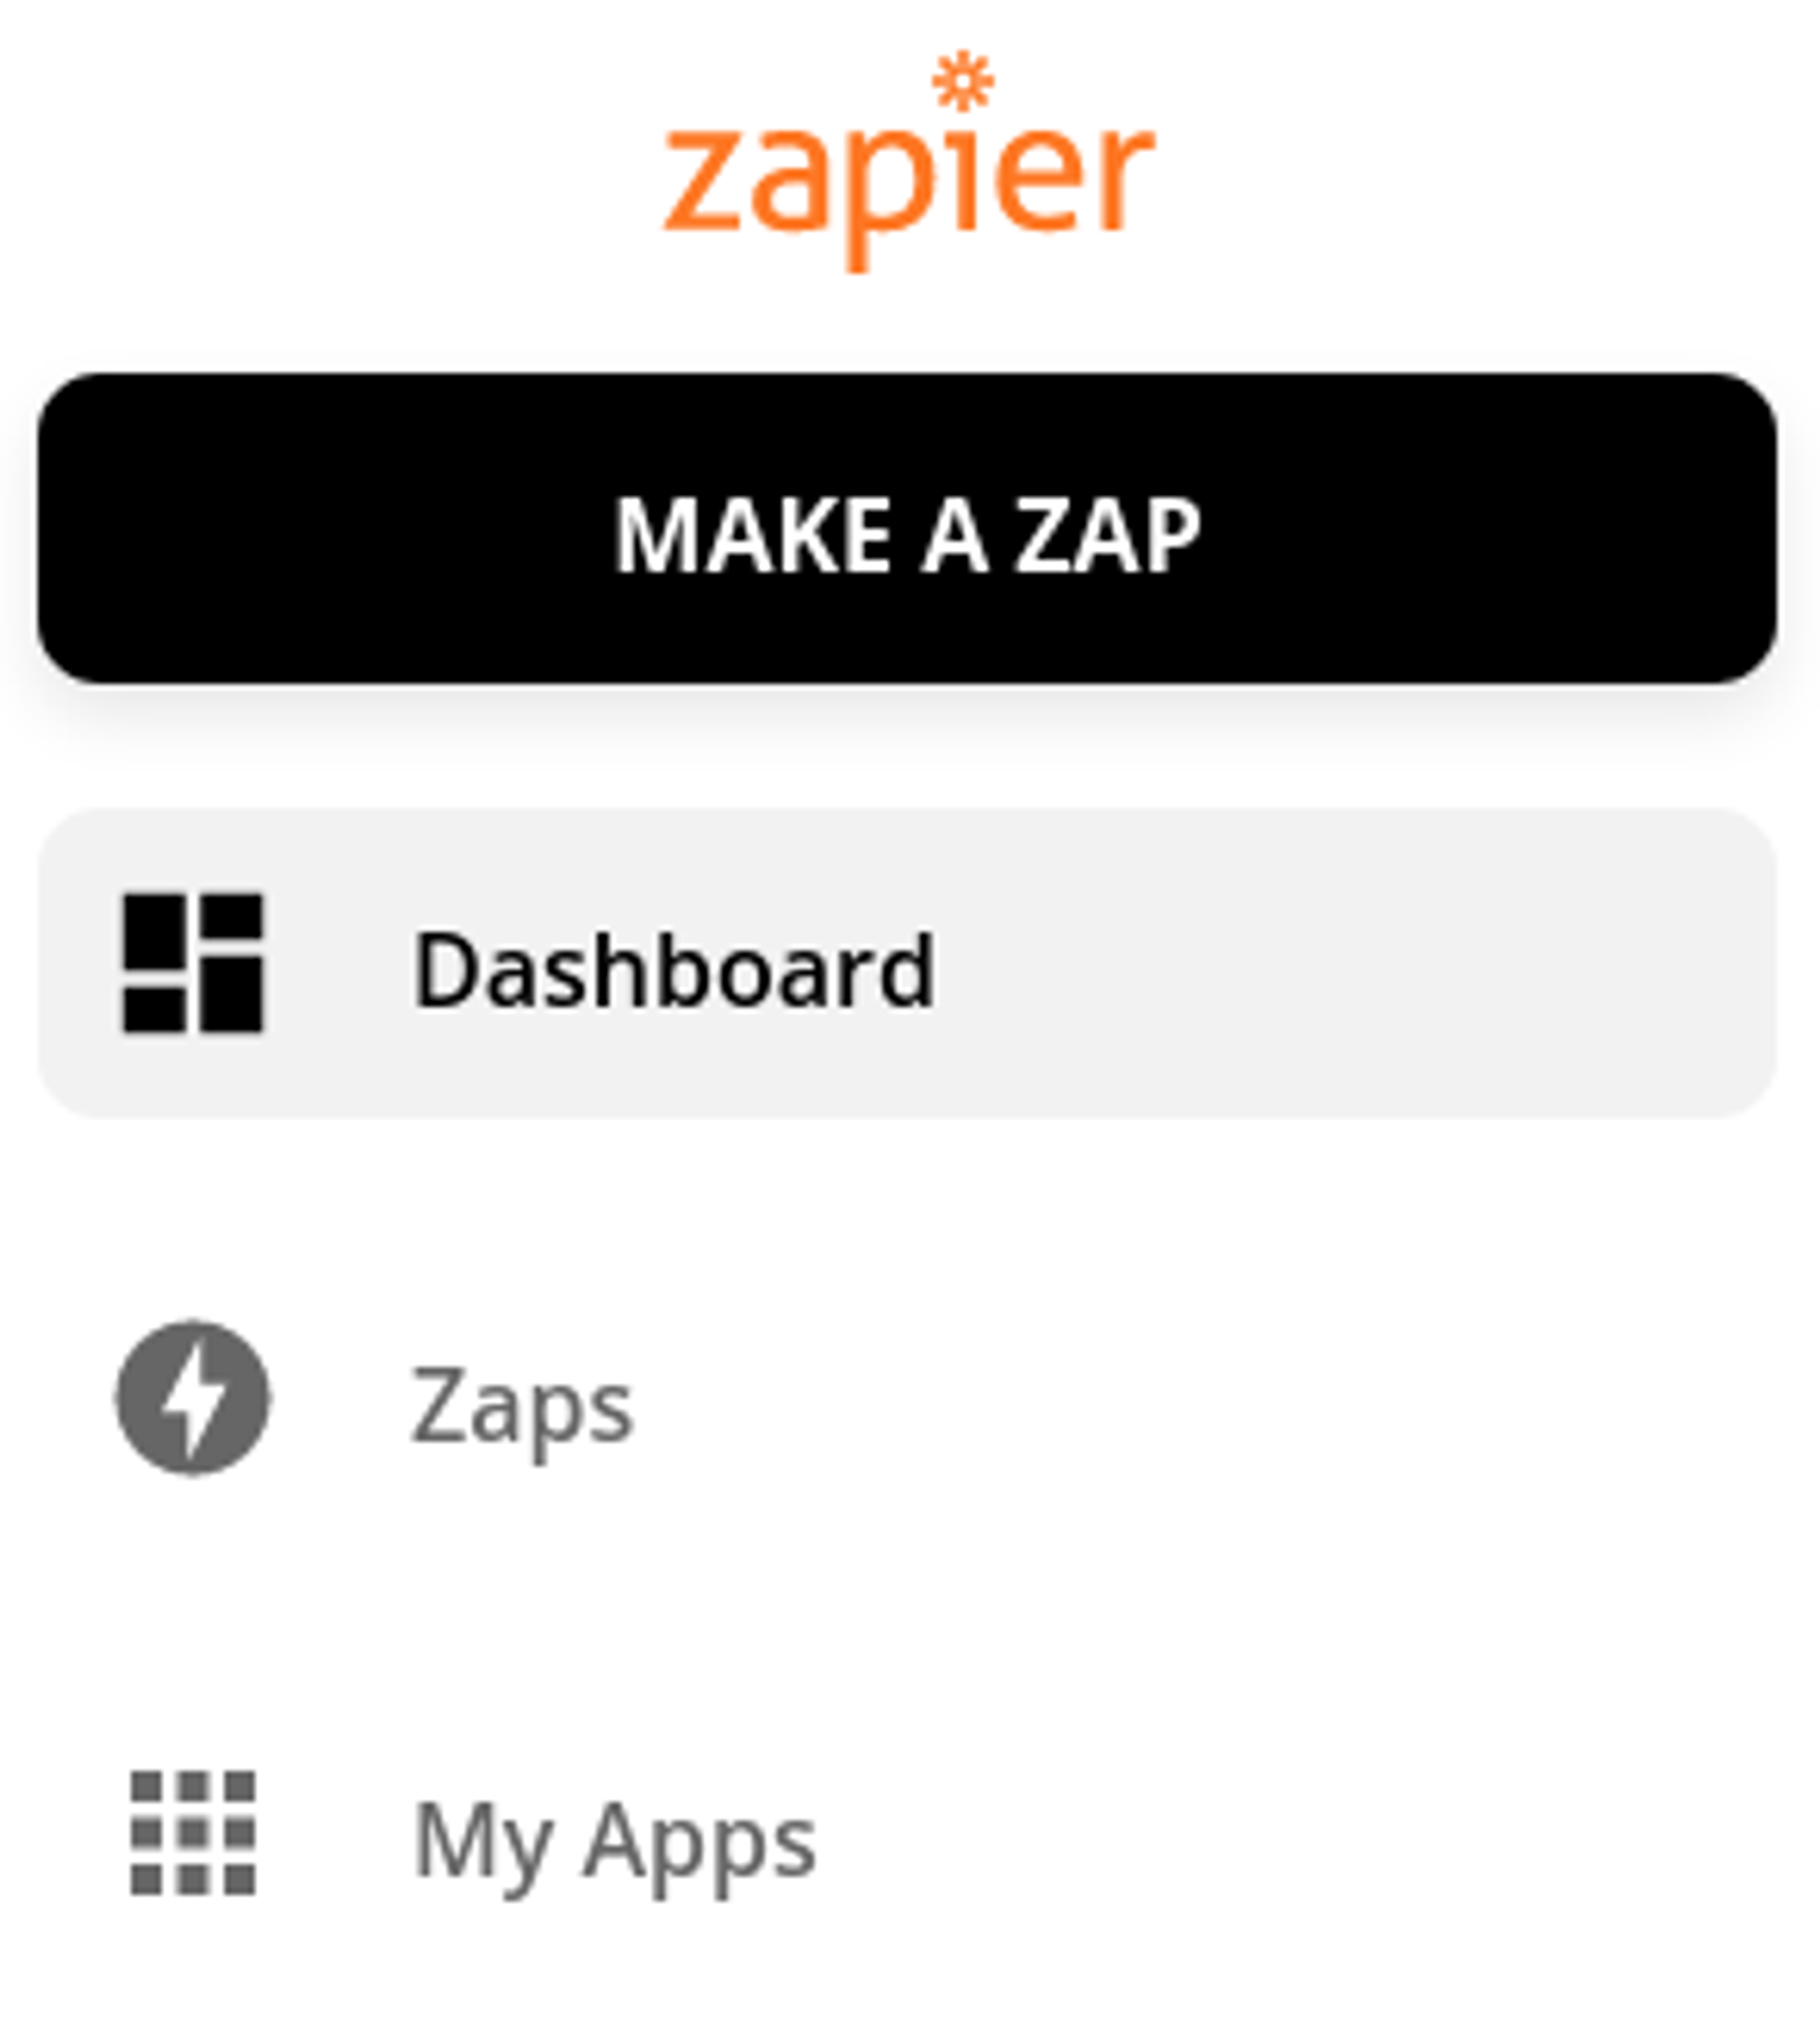
Navigate to “My Apps” from the side menu bar.
This will open up a new screen where you can view the connections you’ve created in your zaps to other services. For example, a VirtualPBX App login to a Google Sheets login.

A search bar will be present in the “My Apps” screen — noted with the “Connect a new account…” phrase.

Click it to search for “VirtualPBX”. Then click the VirtualPBX listing to open a new window.
Enter your VirtualPBX credentials into the login screen to connect your VirtualPBX app to Zapier.
When you’re logged in to VirtualPBX, you can start creating an automation! Use a pre-made Zap or create your own with the Zap Editor. Creating a Zap requires no coding knowledge and you’ll be walked step-by-step through the setup.
The following tutorials can direct you toward specific goals in creating and customizing a Zap. You can begin from scratch or by using one of our pre-built Zap Templates.