

Help Center / Developer / Use cases / Send Call Data to Google Sheets
Use cases
Send Call Data to Google Sheets in the API
This API example sends call data from a VirtualPBX account into a Google Sheet. Prepare a sheet with columns for fields such as call id and timestamp, or copy the sheet template, then configure the Zapier action and the reaction that appends a row. The Zap writes the call fields the API returns. Use the preparation, action, and reaction sections to stand the sheet up.
On this page
Preparation
You will need to create a Google Sheet that’s labeled to accept voicemail data like Call ID and Timestamp. The quickest way to do this is by copying our Google Sheet template.
Open the file linked above. Then click File in the menu at the top of your screen. Click Make a copy in the following drop-down menu to save the Sheet to your own Google Drive.
Action
On your Zapier home screen, you will first need to select the Make a Zap button to create a new project.

A new screen will load. This is where you begin working through the steps of your Zap. As your first step, you can select the VirtualPBX Zapier integration.
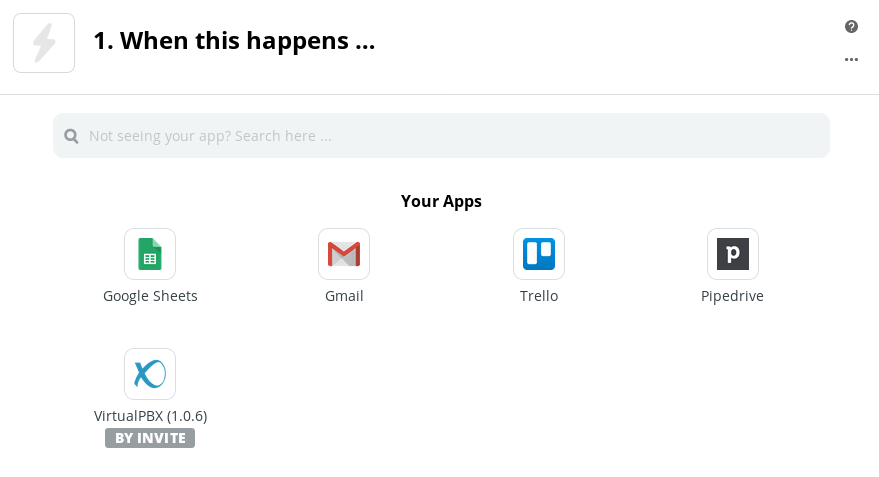
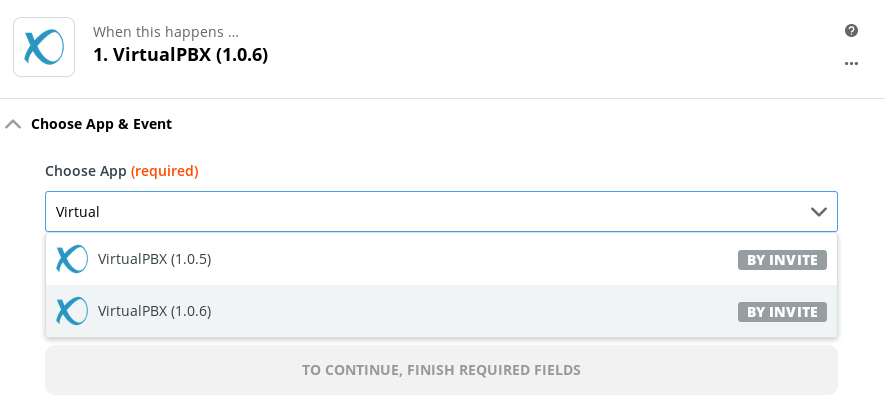
Make sure you select the VirtualPBX 1.0.6 integration version. The Choose App & Event section of this step can always be changed.
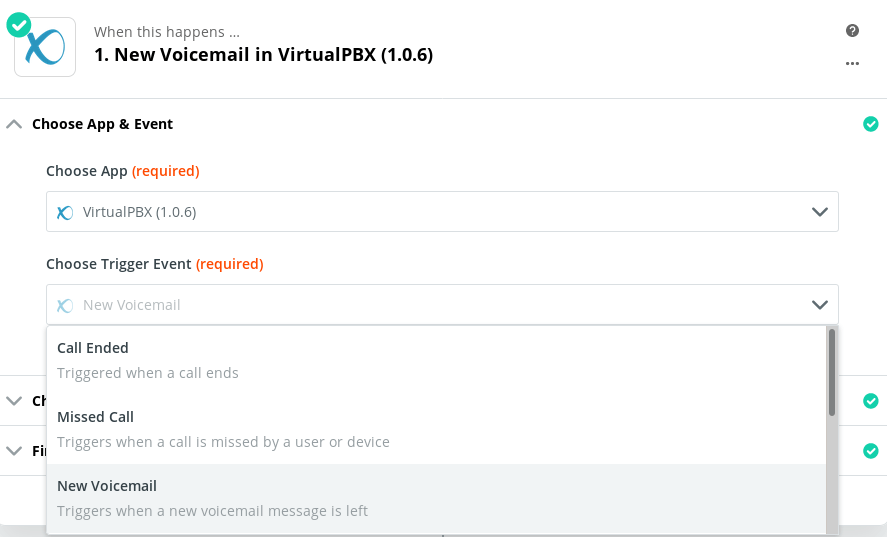
Your Trigger Event in this Zap will be the New Voicemail option. This selection will tell your Zap to trigger a reaction when a caller leaves a voicemail on your account.
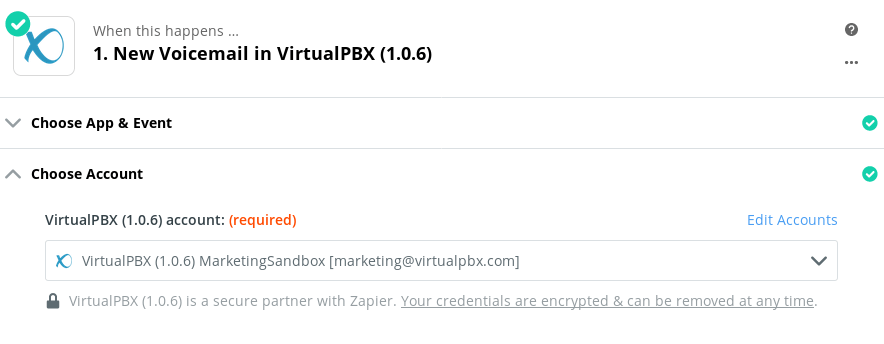
Then enter your VirtualPBX Account credentials and hit Continue to proceed to the next step (adding your Google Sheet).
Reaction
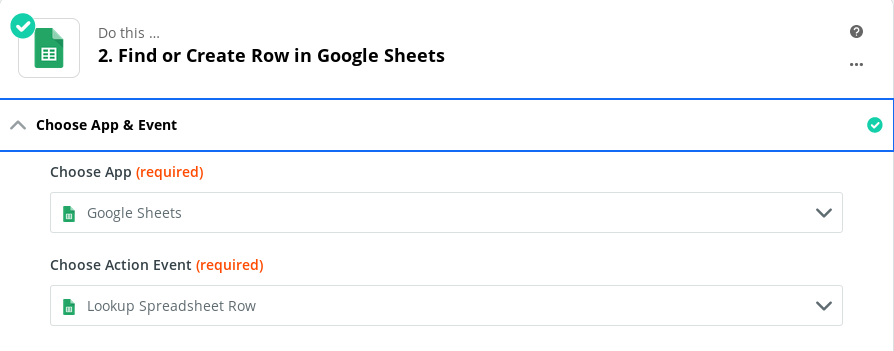
As your second step – your Reaction – click the plus sign on your screen and choose your App (Google Sheets) and Action Event (Lookup Spreadsheet Row).
Your selection of Lookup Spreadsheet Row here will allow you to search for existing data and complete new lines if that data isn’t found. Here, you will search for an existing call by its unique ID. If that call isn’t listed in your spreadsheet log, Zapier will output the new call’s data in your Sheet.
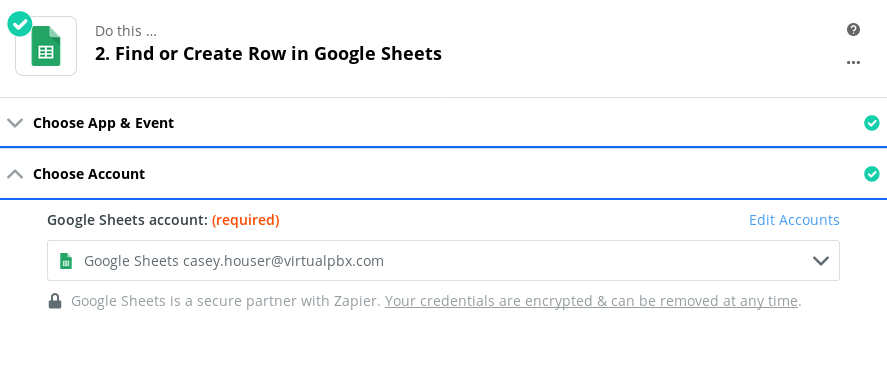
Just as you did with the VirtualPBX integration, you will need to select your Google Sheets account before you can access an individual spreadsheet.
Next, select your Spreadsheet and Worksheet (the individual tab inside the chosen spreadsheet) you want to use.
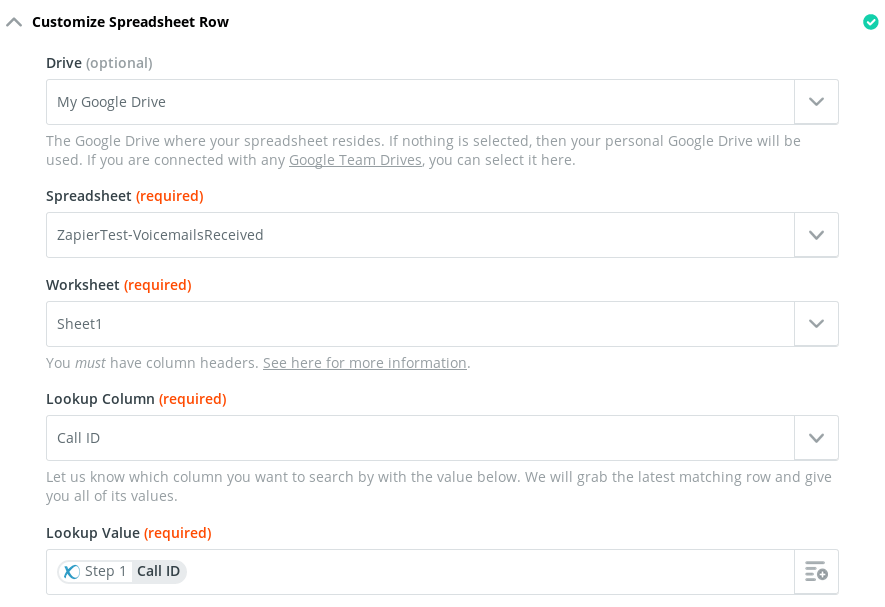
The Lookup Value you select should be the Call ID option. In the drop-down menu for this selection, Zapier will list the VirtualPBX app and all the data options available for an inbound call. Call ID works well here because you will search your Google Sheet for that unique identifier which accompanies every call associated with your VirtualPBX account.
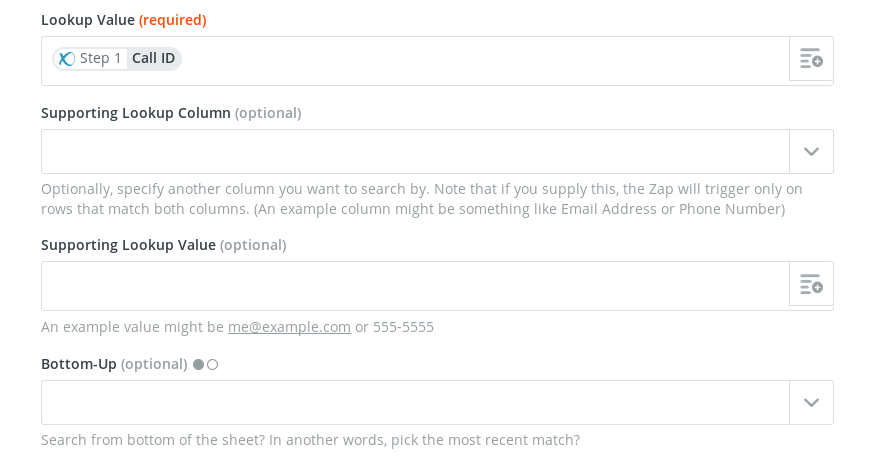
Make sure you check the box labeled Create Google Sheets Spreadsheet Row if it doesn’t exist yet. Your window will load with the options similar to those shown here.
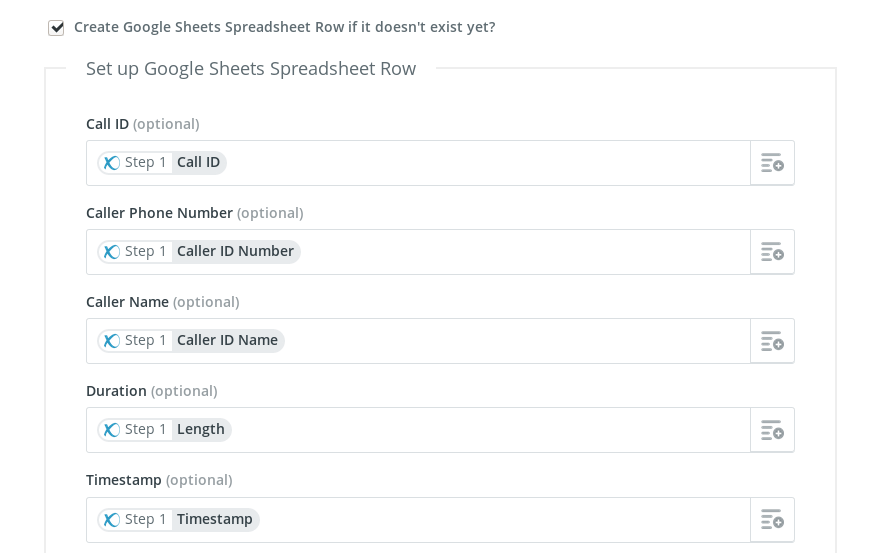
The options loaded in this window will be titled with the same column headlines you placed in Row A of your spreadsheet. As seen in the screenshot above, the call data of Call ID is mapped to the Call ID spreadsheet column. You can change the mapping by clicking on any of the drop-down menus. Zapier will output any of the inbound call data you select into the columns you specify.
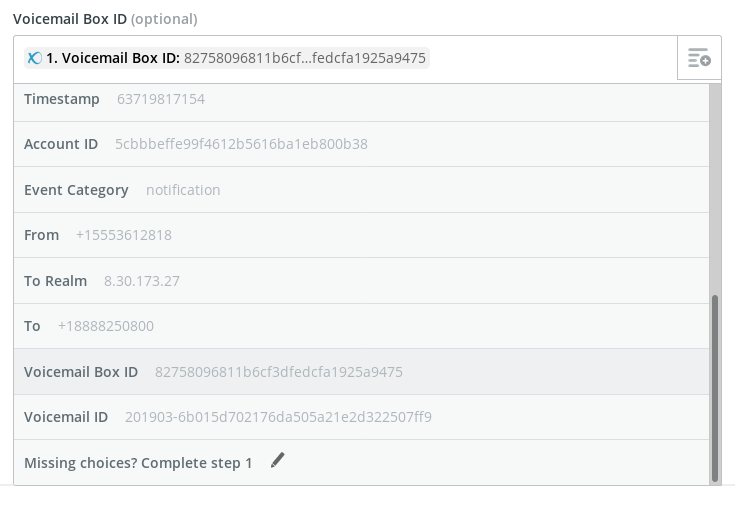
If you add new headlines, be sure to check your mapping in Zapier. As you get more comfortable with how Zapier works, one particularly useful data field you can configure is Voicemail Box ID, which lets you log the voicemail box that received a particular message. This field is included in our Google Sheet Template in the Preparation section of this tutorial.
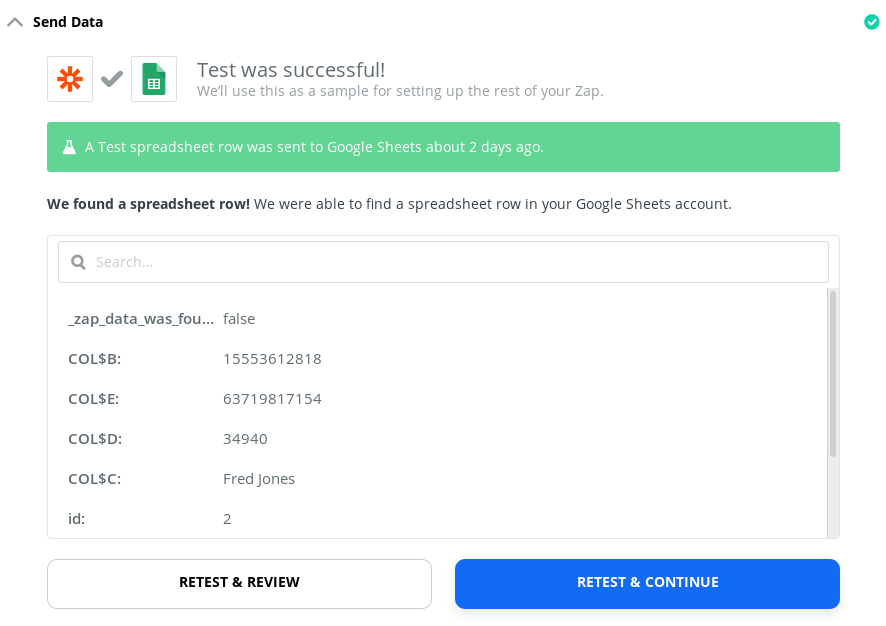
Now you can Test & Continue to send sample data to your spreadsheet.
When you’re ready, you can turn on your Zap and begin processing your voicemails.