

Help Center / Developer / Use cases / Slack Notifications from Call Events
Use cases
Slack Notifications from Call Events in the API
This API example posts a Slack message when a call event arrives. The Zap starts on the Zapier home screen with the VirtualPBX app, then a Slack reaction writes the notification to a channel. The message is built from the call event the API sends. Configure the VirtualPBX action first and the Slack reaction second, and choose the channel that should see those calls.
On this page
Action (Configure VirtualPBX App)
On your Zapier home screen, you will first need to select the Make a Zap button to create a new project.

A new screen will load. This is where you begin working through the steps of your Zap.
Your Slack notifications will depend on using the VirtualPBX Zapier Integration to recognize when you have an incoming call. As your first Zapier step, you can select the VirtualPBX App.
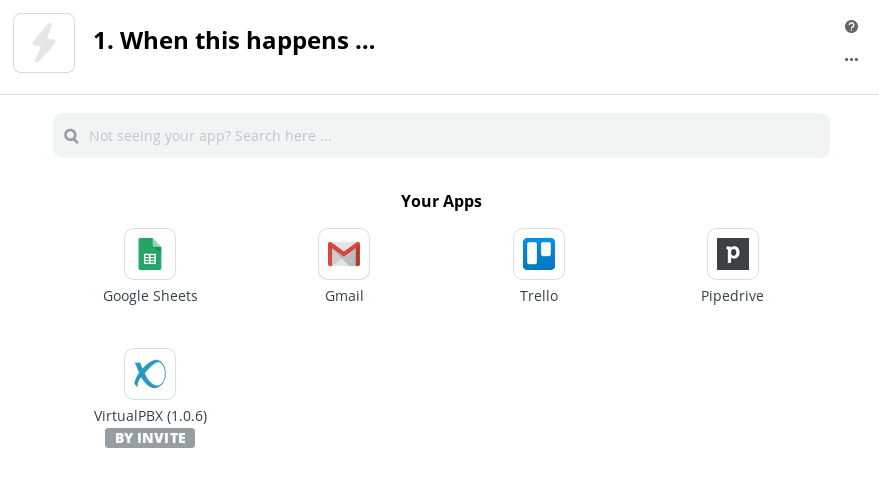
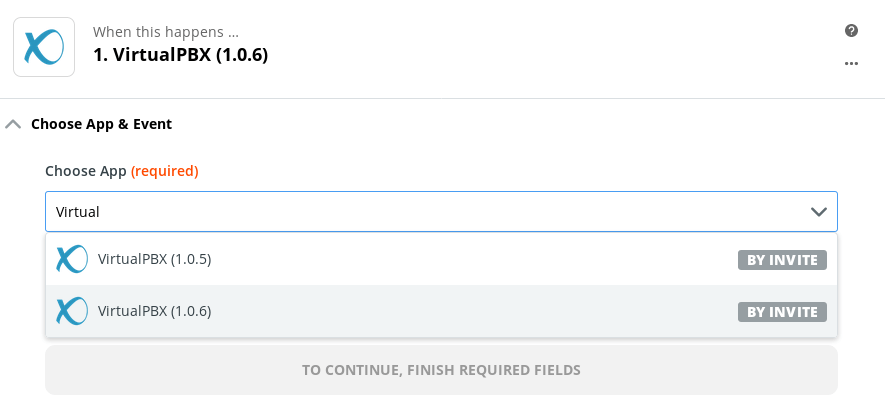
Make sure you select the VirtualPBX 1.0.6 integration version. The Choose App & Event section of this step can always be changed.
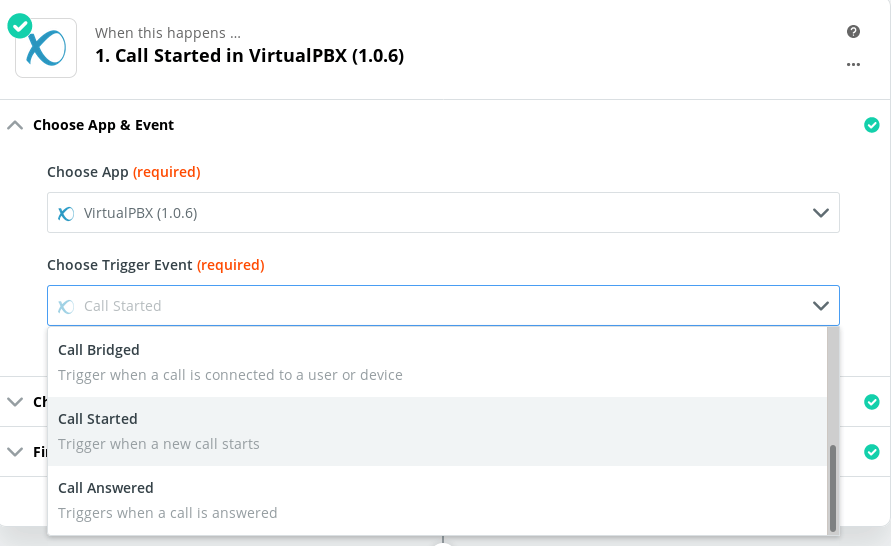
To recognize an incoming call, you should select Call Started for your trigger event.
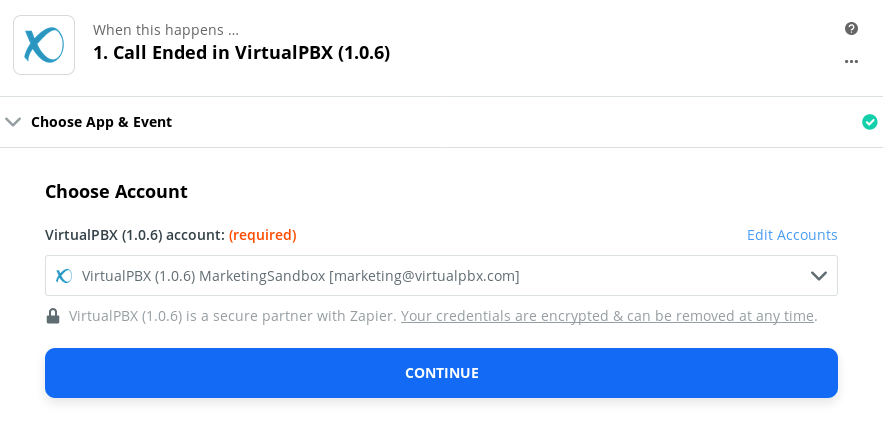
Then enter your VirtualPBX Account credentials and hit Continue to proceed to the next step (configuring a Slack notification in your Zap).
Reaction (Configure Slack)
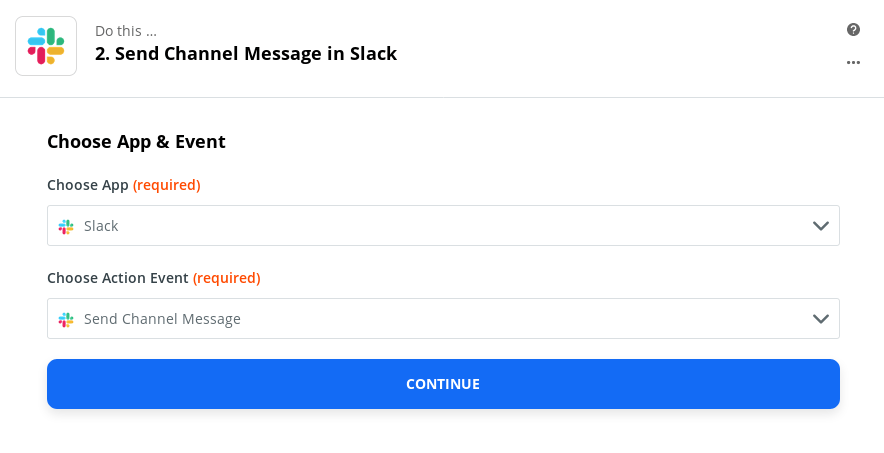
For the reaction in your Zapier Slack notification, you’ll need to select the Slack App. Click the plus sign on your Zap screen to add an extra step. Then search for “Slack” and select that app in the same way you found the VirtualPBX App.
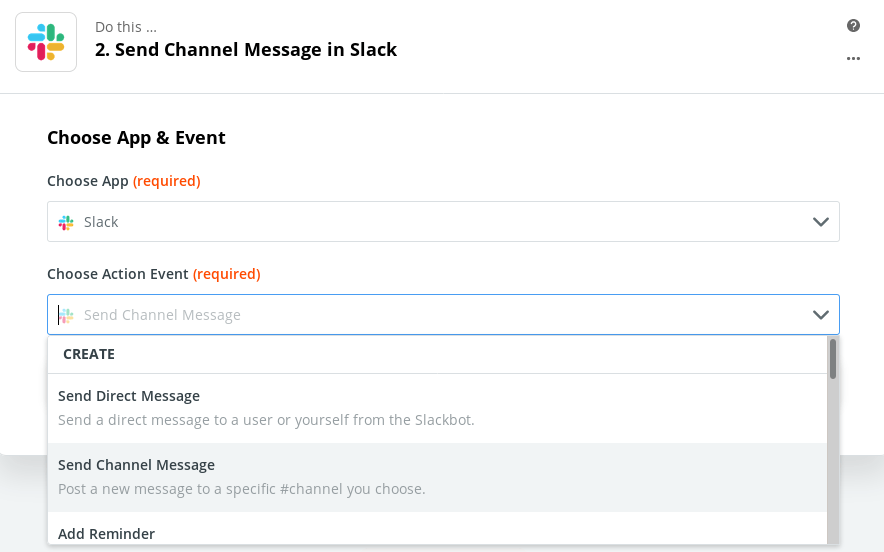
You can then click the Choose Action Event dropdown menu to find the Send Channel Message option.
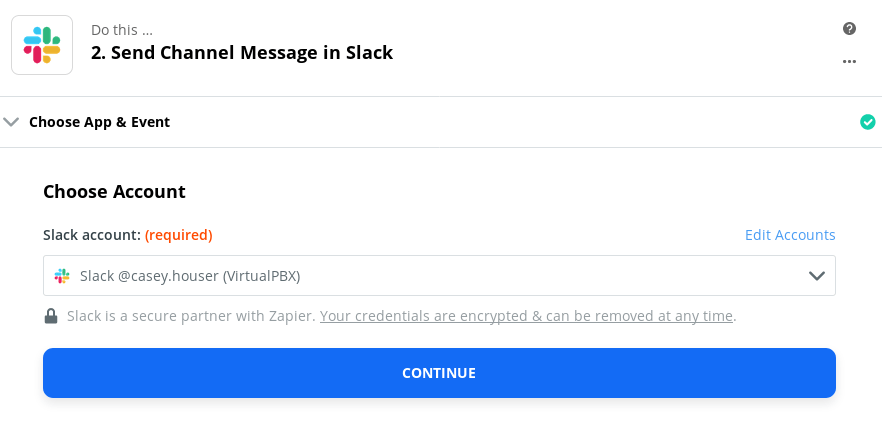
Also similar to the VirtualPBX App steps shown above, you’ll need to select your Slack account.
Now you can get into the heart of your message. You can customize the notification text and options by first choosing your Channel — in this case, it’s our Marketing channel — and writing some Message Text. You always have the option of sending your message from a bot or from the user associated with the Slack account. And you can choose your Bot Name if you wish.
In this same section of your Zap, you can also link other channels (like @marketing) or individuals (like @casey.houser), attach files, and attach images to all your automated messages.
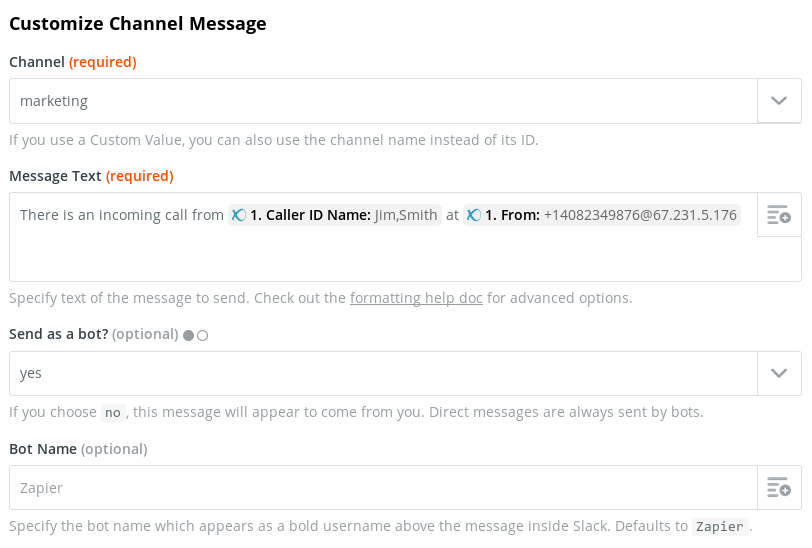
Customization of your message text can be improved by clicking the menu icon in the upper-right corner of the Message Text box. This is where you will find dynamic fields related to your VirtualPBX account, including Caller ID settings like name and phone number.
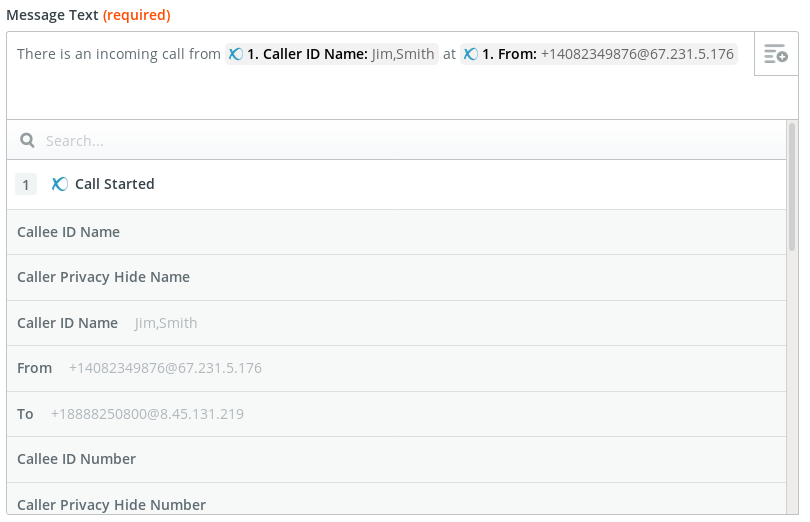
Finally, you can preview the options you chose in the previous steps.
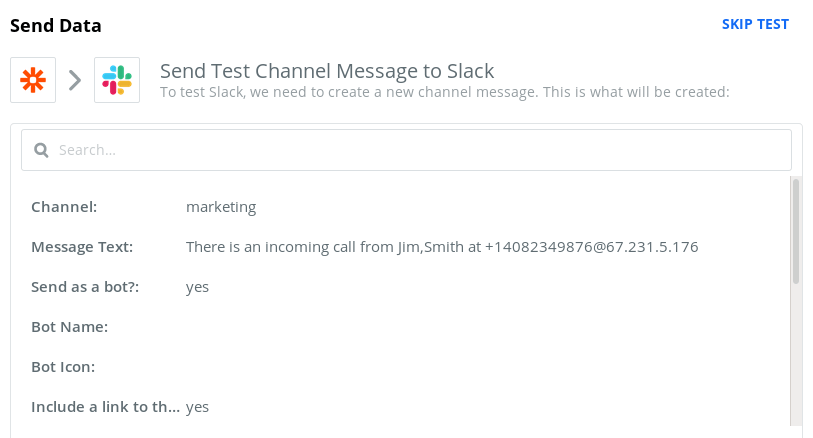
If everything looks good, go ahead and test your message. Check your Slack channel to see your custom message appear.
