Help Center / Developer / Use cases / Create Trello Card for Voicemails Received
Use cases
Create Trello Card for Voicemails Received in the API
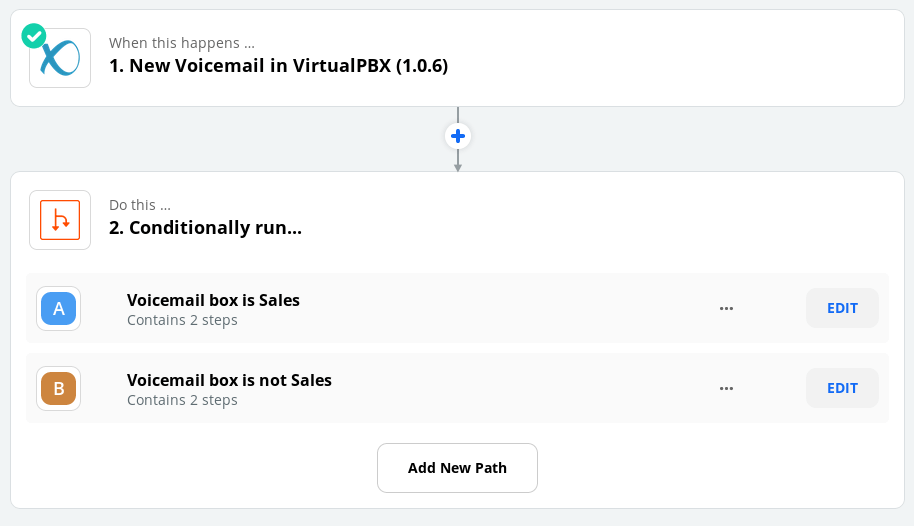
This API example creates a Trello card when a voicemail arrives. The Zap starts with the VirtualPBX app, checks the call with conditional logic, and then adds a card to a Trello board. A second reaction can file a different kind of call on another board. Zapier reads the voicemail event from the API. Follow the action and the two reactions in order when you recreate the Zap.
On this page
Action (Configure VirtualPBX App)
On your Zapier home screen, you will first need to select the Make a Zap button to create a new project.

A new screen will load. This is where you begin working through the steps of your Zap.
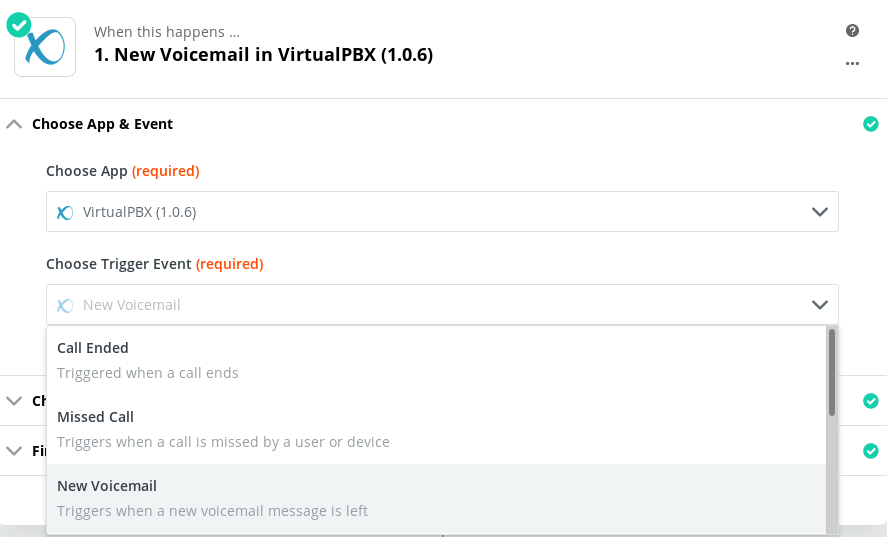
You will need the VirtualPBX Zapier Integration to recognize when a customer has left you a voicemail. As your first Zapier step, you can select the VirtualPBX App. If given the choice, select the version VirtualPBX (1.0.6) as shown in the screenshot here.
Then you can choose the Trigger Event of New Voicemail, which will cause Zapier to take action when a voicemail is left to your account.
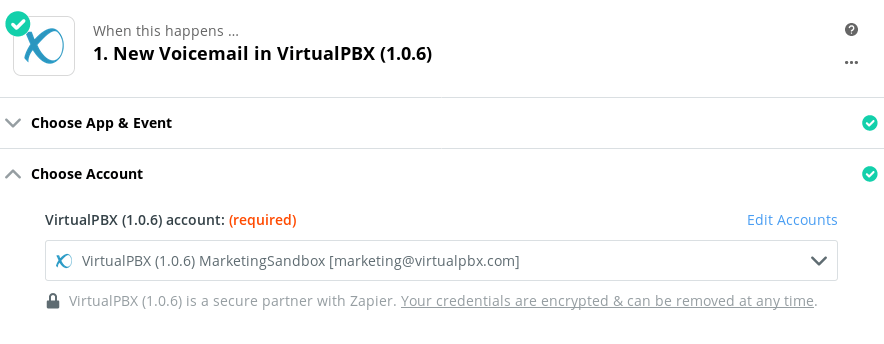
You will also need to choose your VirtualPBX account by signing in with your login credentials.
Reaction (Configure Conditional Logic and Trello board #1)
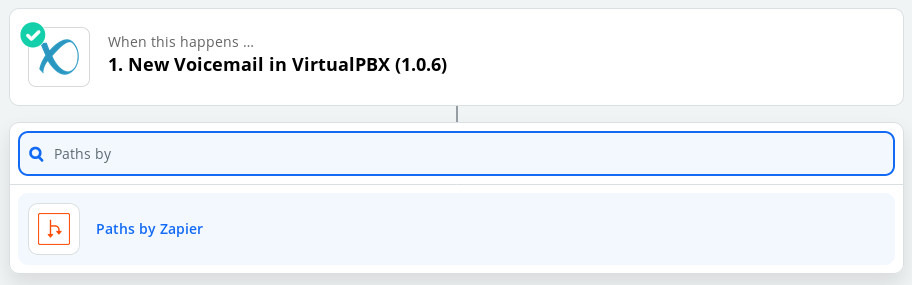
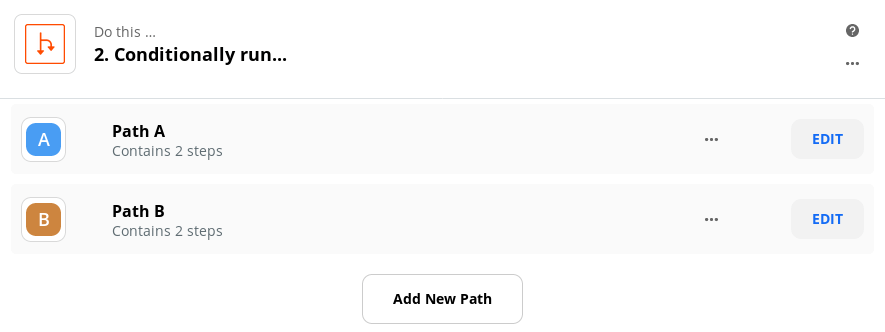
After setting up the VirtualPBX trigger, you can begin configuring your Zapier conditional logic. Zapier will offer you a step to create a reaction to your VirtualPBX voicemail that looks like this screenshot. Type in “Paths by” in the search bar to find the Paths by Zapier app.
After that’s selected, you will see two initial paths generated for you. Click Edit in the Path A row to determine what happens when your voicemail data conditions are met.
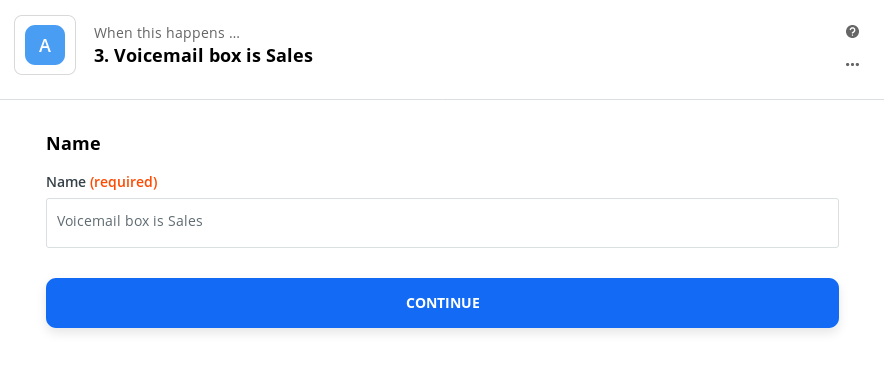
You’re required to enter a name for this step. Because this tutorial will set its initial Zapier conditional logic to send a message to the Sales Trello board, we’ve called it Voicemail Box is Sales.
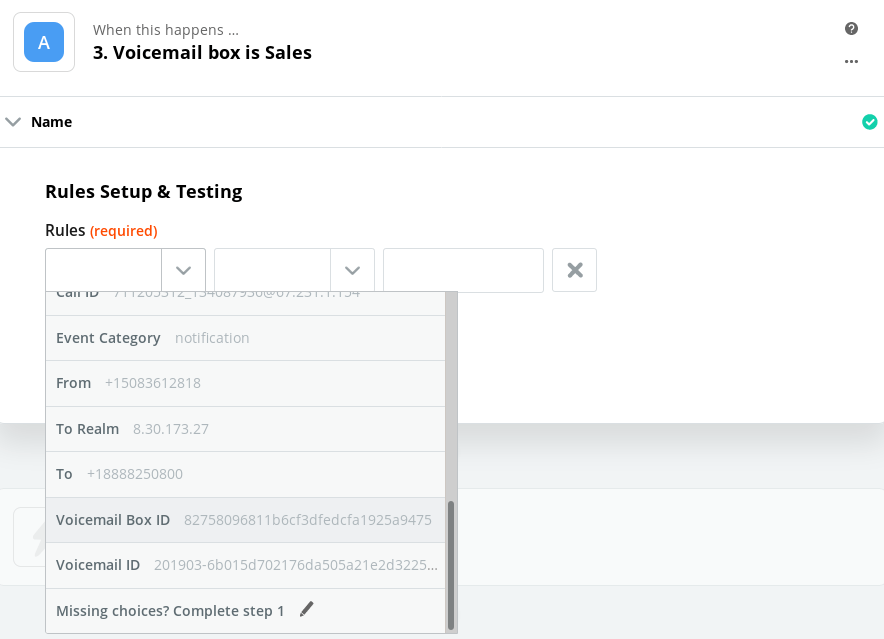
Next, you can create your conditions. The drop-down menus here let you select Inbound Value, Condition, and Match Value in that order. It’s similar to “X”, Equals, and “Y”, which would result in a value of false.
Here, we’ll select Voicemail Box ID as our inbound value that we grabbed from the VirtualPBX App you configured in the first steps of this tutorial. This is the value you want to test against a condition.
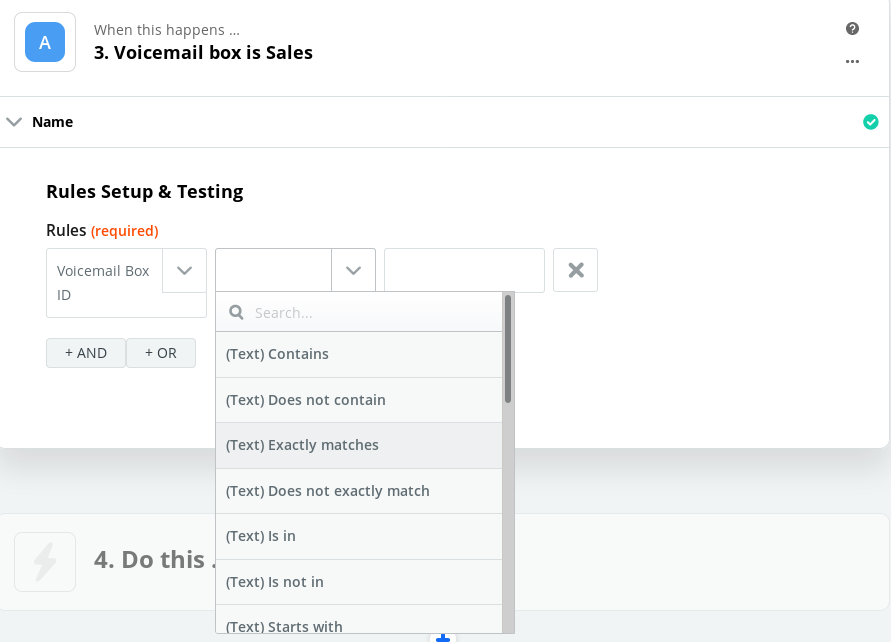
Then you can select the condition, which here is shown as (Text) Exactly matches because we only want to send messages to the Sales Trello board if the customer left a message on Sales’ box.
Finally, you can insert the Match Value in the final column of this step.
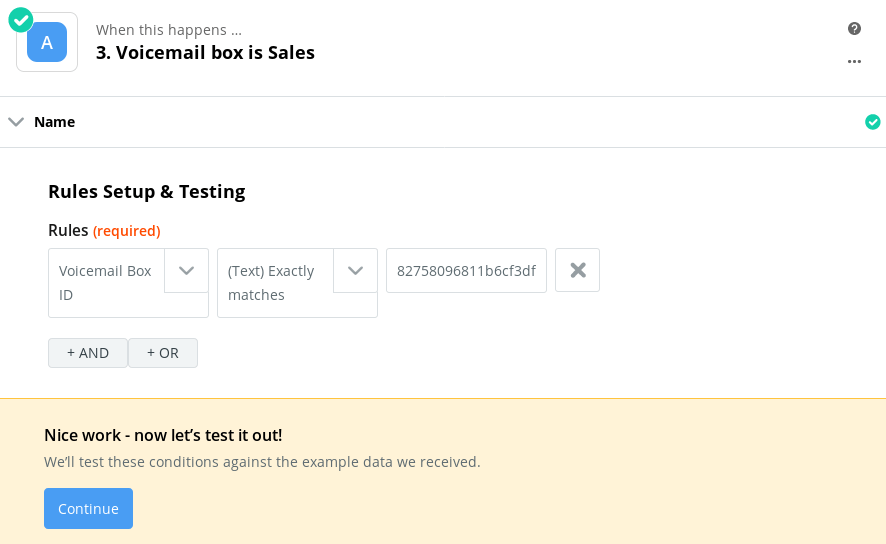
In this case, we entered as our Match Value the exact value of the Trello board we want to match, so our test will return true.
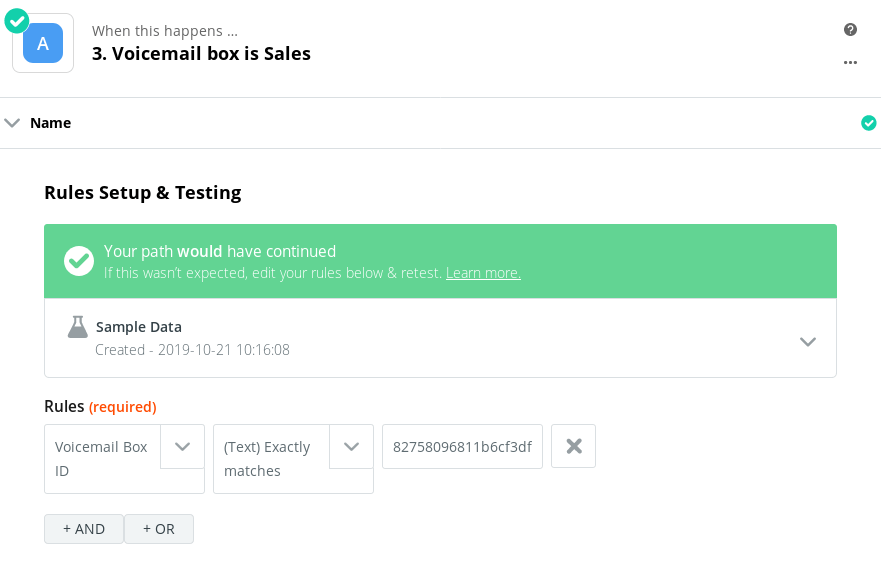
What a result of true means for the rest of your Zap is that this Path will continue through further steps. The voicemail box matched our criteria, so the Zap will proceed.
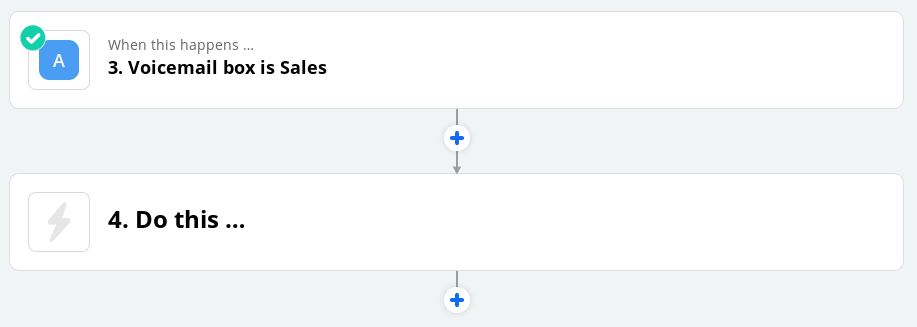
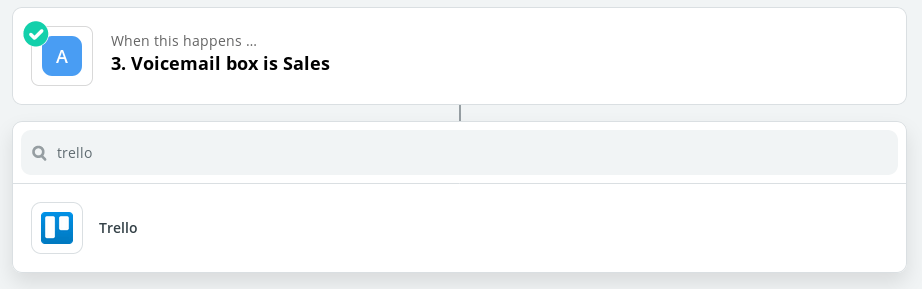
This is where you can configure Trello to create a new notification. Type “Trello” in search bar to find the Trello App.
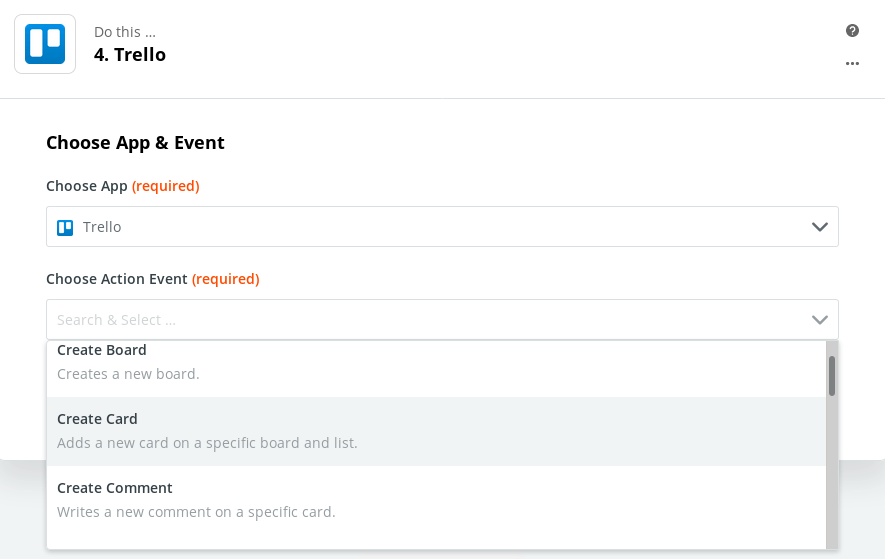
Just like you did with the VirtualPBX App, select your Action Event. In this case, you want Trello to complete the Create Card action.
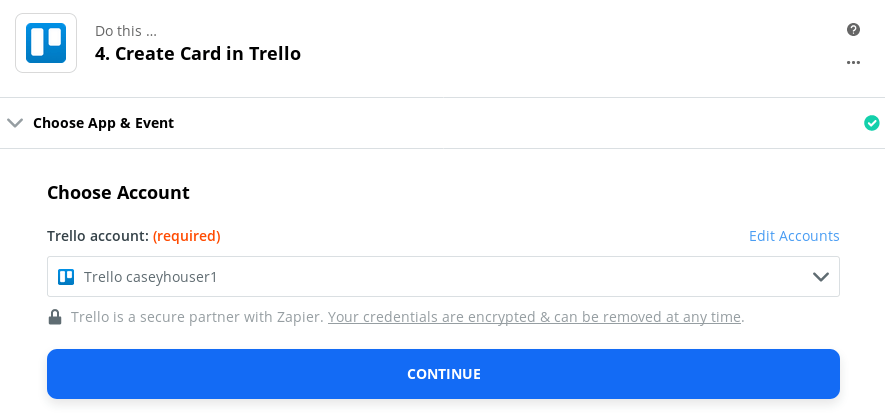
Then select the Trello account where you want to create a card. You will need administrative access to a Trello account to be able to create a message there.
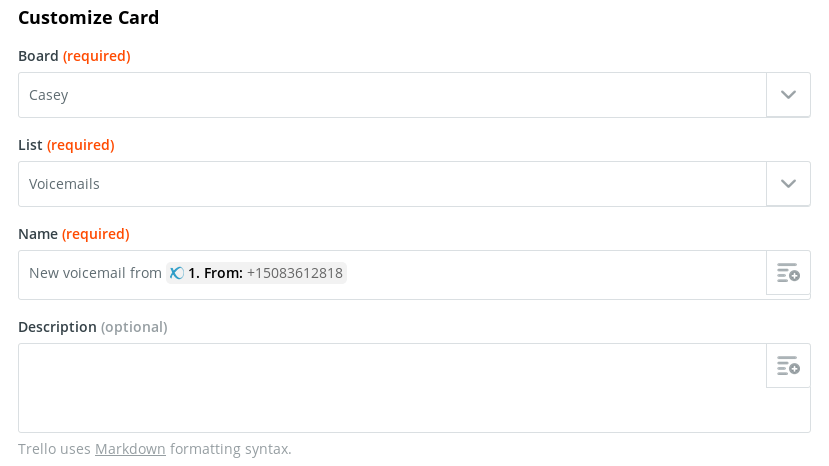
You need to select several options for the Board that contains the List where you want to create a card. You will also need to create a Name of your new card. There are optional values like Description and Due Date you can set to make the cards more specific.
What we’ve done here is create a Name that includes a dynamic value. The From value was chosen by clicking the right-hand side button in the Name field.
After clicking Continue, you can see the options you selected as part of a test.
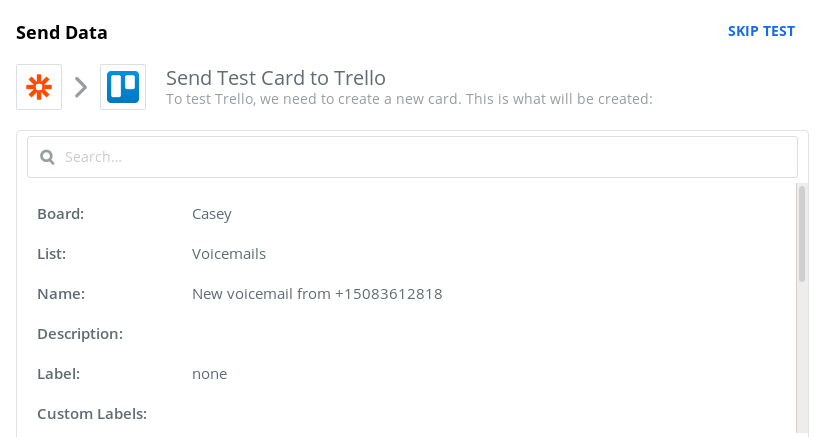
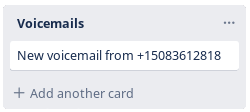
If you choose to send a test message, it will create a card in your Zapier account. The message created in this tutorial looks like the following screenshot. Yours may vary, depending on the options you configured.
Reaction (Configure Conditional Logic and Trello board #2)
The steps for configuring Step B are the same as Step A — just with different initial conditions.
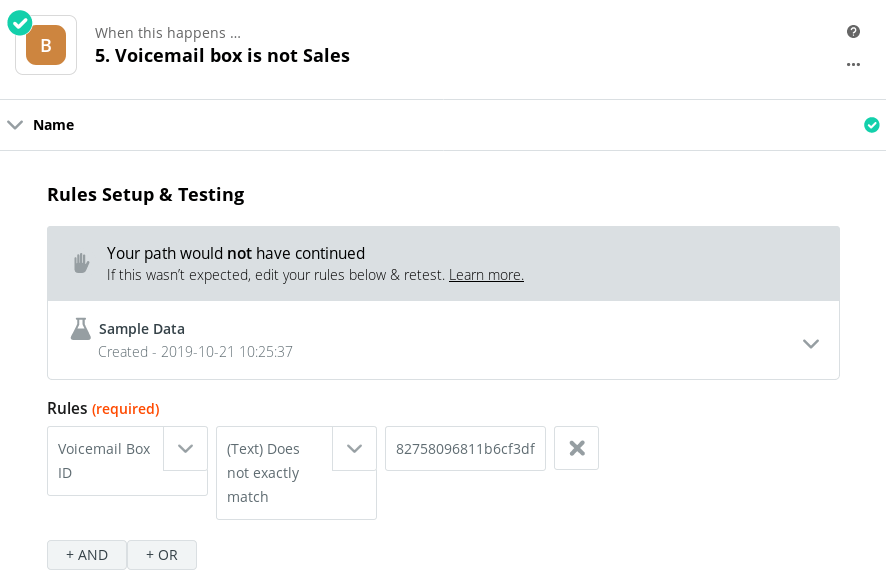
All we’ve done here is tell Step B to look for a Voicemail Box ID that Does not exactly match the Sales voicemail box ID. With our test case, this option fails:
You can configure the following options for Step B in the same way you did with the previous step. You may want to create a Trello card in a different Trello board. This would allow you to address a separate department or just alert anyone not on the Sales team, who could be busy with their own messages.
In the end, we have two paths that meet opposing conditions. You can create more conditions by clicking the Add New Path button, which will allow you to create further initial conditions for processing your voicemails.